How to take better yoga photos for instagram
When I started my Instagram page in January of 2016, I had literally zero followers and didn’t really know what I was doing. I’ve always been an artist of some kind and had dabbled in photography, but never really anything serious. Coming from a background of art classes meant that I knew how to set up an image and look at a location with an artist's eye.
Before I bought my first “fancy” camera, I used my phone to take all of my photos and it got the job done. I even use my phone today to take a bunch of my videos and photos because you’re never too good to go back to square one.
Here are some tips to take better yoga photos for Instagram.
Before I bought my first “fancy” camera, I used my phone to take all of my photos and it got the job done. I even use my phone today to take a bunch of my videos and photos because you’re never too good to go back to square one.
Here are some tips to take better yoga photos for Instagram.
1) Lighting
- I truly believe this is the most important thing and the first thing you should be considering when taking a photo for the gram. There’s a lot of different elements that go into taking a good photo, but if your lighting isn’t good, none of the other elements of the photo matter.
- You are the subject of the photo, and you want the light to be shining on you, the subject. This means you should position yourself so that the camera is between you and the light source. You don’t want the light coming from behind the subject, the light should be behind the camera. If the light is coming from behind the subject, you’re going to end up with a silhouette effect, but you don’t want that for all of your photos because you can’t see the details of your body in your pose.
- Natural light from the sun is going to be the best, but you can make it work with indoor lights as well. The same principle applies here that the light should shine on the subject.
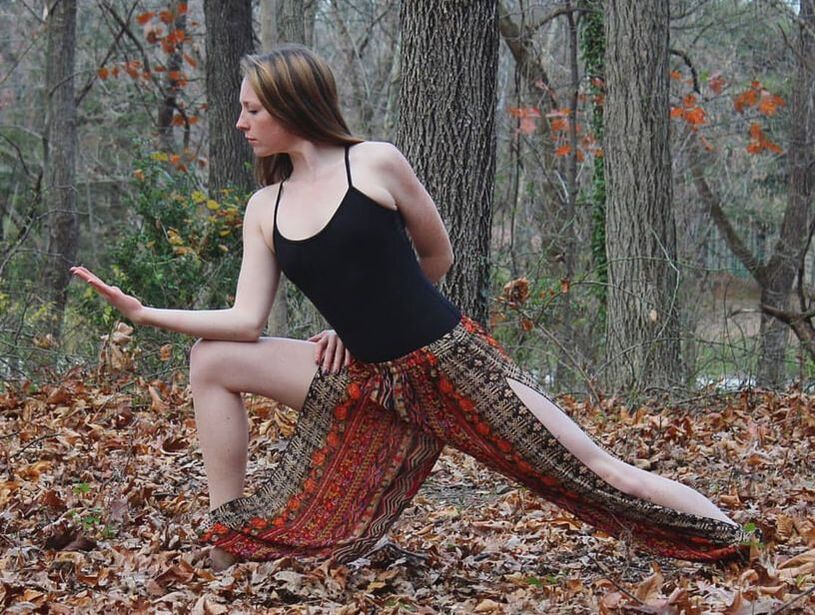
2) Background
When I think of fall, I'm often reminded by the warm cozy foods that accompany it.
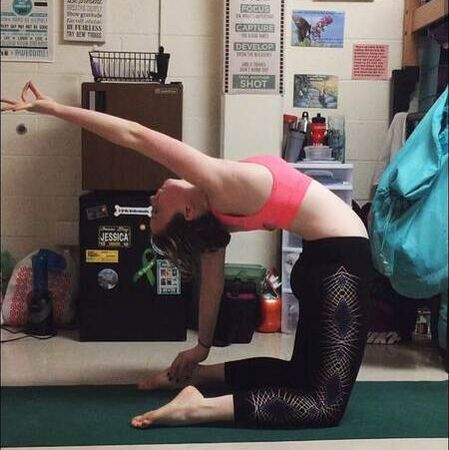
Figure 5: Let's call this a "bad" yoga photo. The background was super busy in my dorm room which distracts from the yoga pose.
|
more from the may publication
|


3) Focus
- The focus of your yoga shot should be on you, the subject. The lighting helps make you clearer for the camera and the simple or plain background shifts the focus onto you. The last little adjustment you want to make is to create as much space as possible between yourself and the background. The further away you are from the background, the better the blur effect.
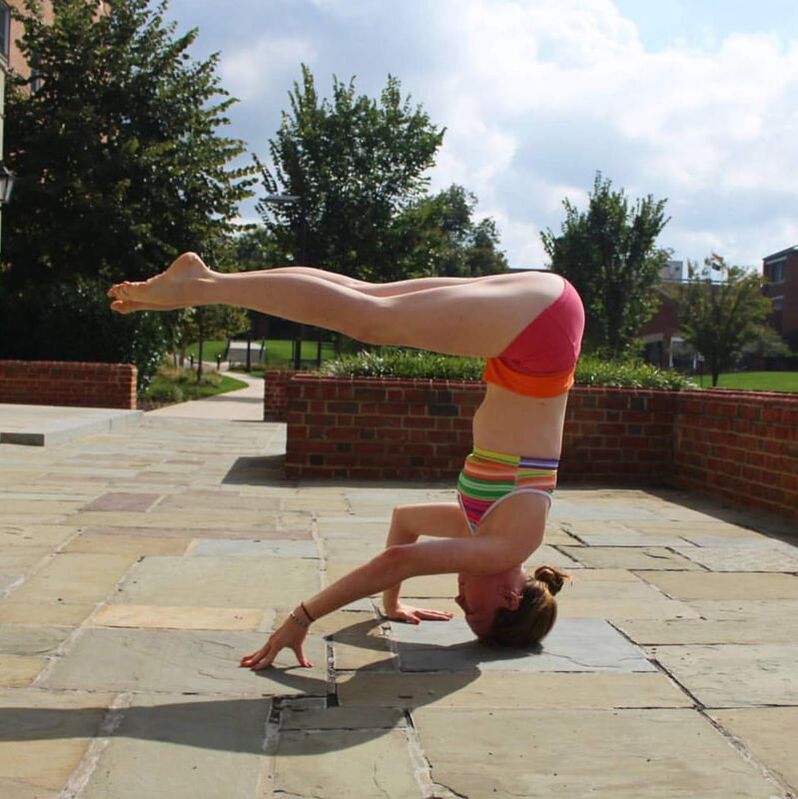
Figure 6: I've created distance between myself and the brick wall/trees so that the background is slightly blurred.
|
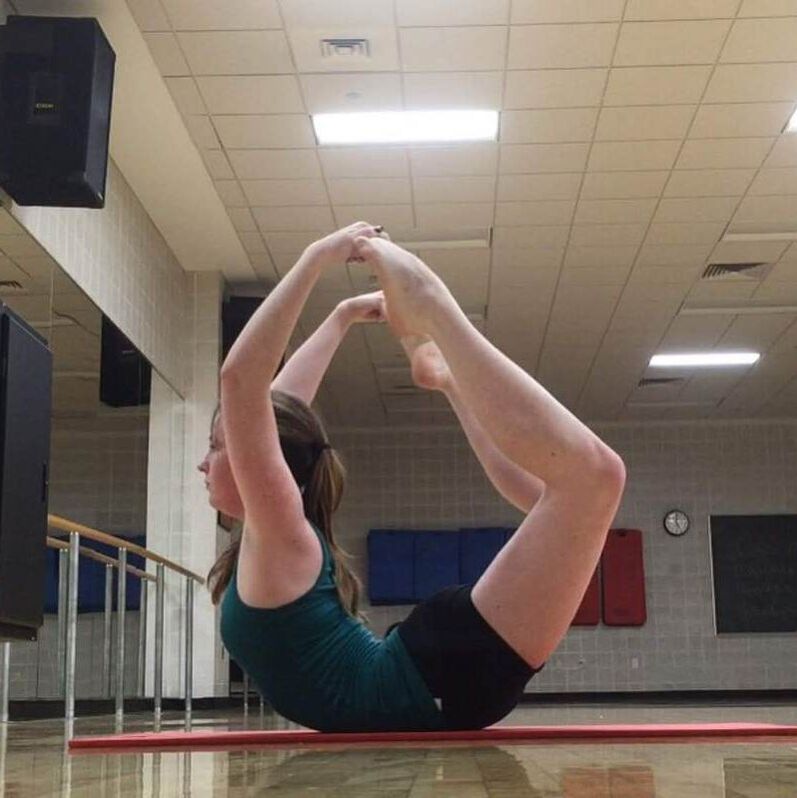
Figure 7: An indoor example of creating space between the subject and the background.
|
4) Grab a friend
- Often I would use the 3 principles above and then stick my phone in my shoe and record a video. Then I would take a screenshot from the video so I had a photo to post. This works pretty well, but taking a screenshot from a video decreases the detail of the photo and makes everything a little blurry. You’re going to get better results if you ask someone else to take the picture for you. Make sure they know about the principles above and give them a little instruction on what you have in mind for the photo. Tell them what pose it is that you’re trying to do so they know when to “snap” the pic. If your friend is unfamiliar with yoga, it’s super helpful if you show them a photo first of what pose you’re attempting so they know when to take the picture, and they can maybe guide you so you’re in the best expression of the posture.
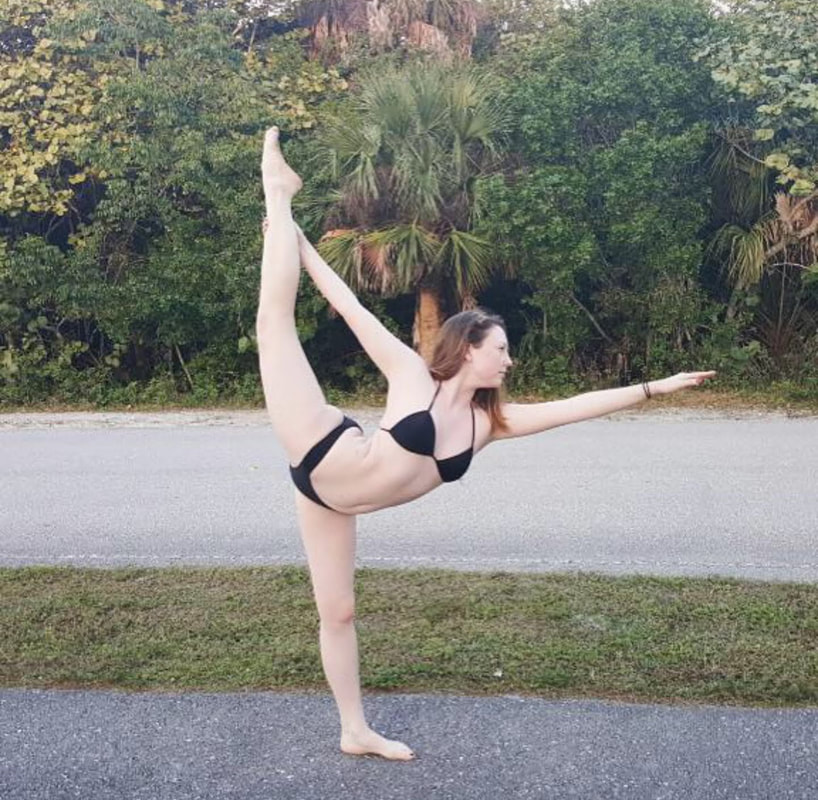
Photo 8: This is a "good" yoga photo that Jack took for me.
|
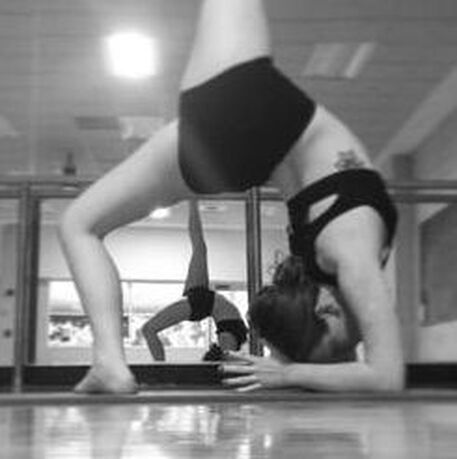
Photo 9: This is another example of what a "bad" yoga photo looks like. I took the pic myself so I wasn't able to know that my leg was out of frame.
|
Ali Basye-Featherston